
How to Take and Edit Photos Using an iPhone

 Me in January: I am going to blog every week of 2018.Also Me: Once a month is pretty good, I guess.I get lots of questions about my photos, so I thought I'd share how to take and edit photos using only my iphone, because YA GIRL IS BROKE and will have a DSLR probably never [insert cyring emoji here].I am not a pro photographer, obviously, but I have done a lot of trial and error (hello, 23,925 photos in my camera roll) and so here is the wisdom I have to impart. Also, I'm sharing a few before & after examples at the end of this list to give you a better visual!
Find Natural Light
This is my number one priority. Anything else just gives the photo a grainy, yellowish tint. I try to shoot things in the daytime, and schedule them to post later. Also: try to stand so that the light is behind you (the camera) and not behind your subject. You want the light illuminate your subject (unless you are doing some kind of experimenting). For most shots I try to find a shaded area in natural light.
Think About Photo Composition
Depending on what I am shooting, I think about the story I am trying to tell & what I am trying to highlight in the frame. This is especially important to me when setting up flatlays or scenery photos. I try to use the rule of thirds to guide me, and mix it up with angles, perspective, textures, shooting through objects, and leaving negative space. Again, I am not a pro, this is just what I do when I approach shooting.
Take a Bajillion Photos
I am not lying when I tell you I have 23k+ photos in my phone, not counting videos. The truth behind that one photo you see in my feed is that it probably took 50- 100 to get it just right. Oye. Take a lot of photos. Take all the photos. I also use HDR mode on my phone almost all of the time.
Delete Ones You Wont Use
Learn from my mistake and delete the awful ones before you edit. This is something I am always trying improve upon. I told myself when I got a new phone I'd delete as I go, but alas, my life is a series of not taking my own advice, so.
Edit with Your Fave App
I use VSCO 99.9% of the time. I occasionally use Snapseed for more detailed editing, and A Color Story when I want something to POP. I usually edit one photo, click "Copy Edits", and paste it on all the photos from that shoot for a cohesive look. Sometimes I make minor adjustments for lighting.
Favorite Apps & Accessories:
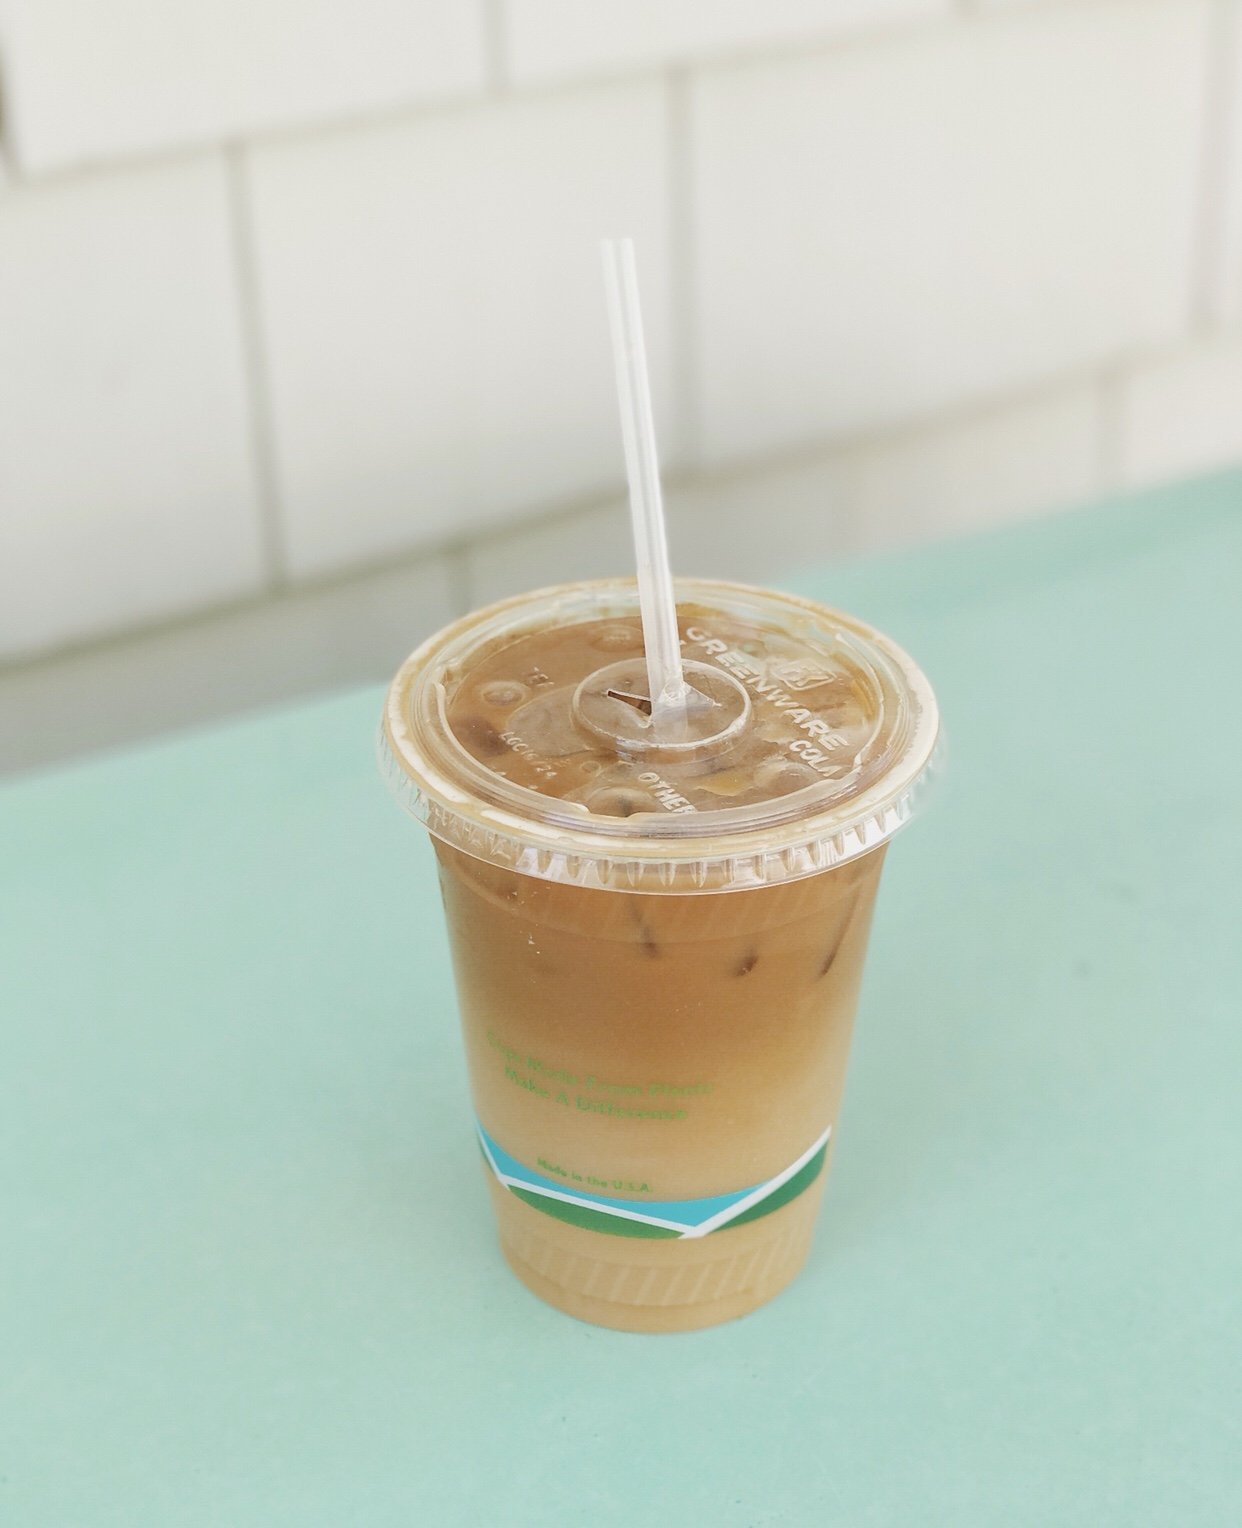
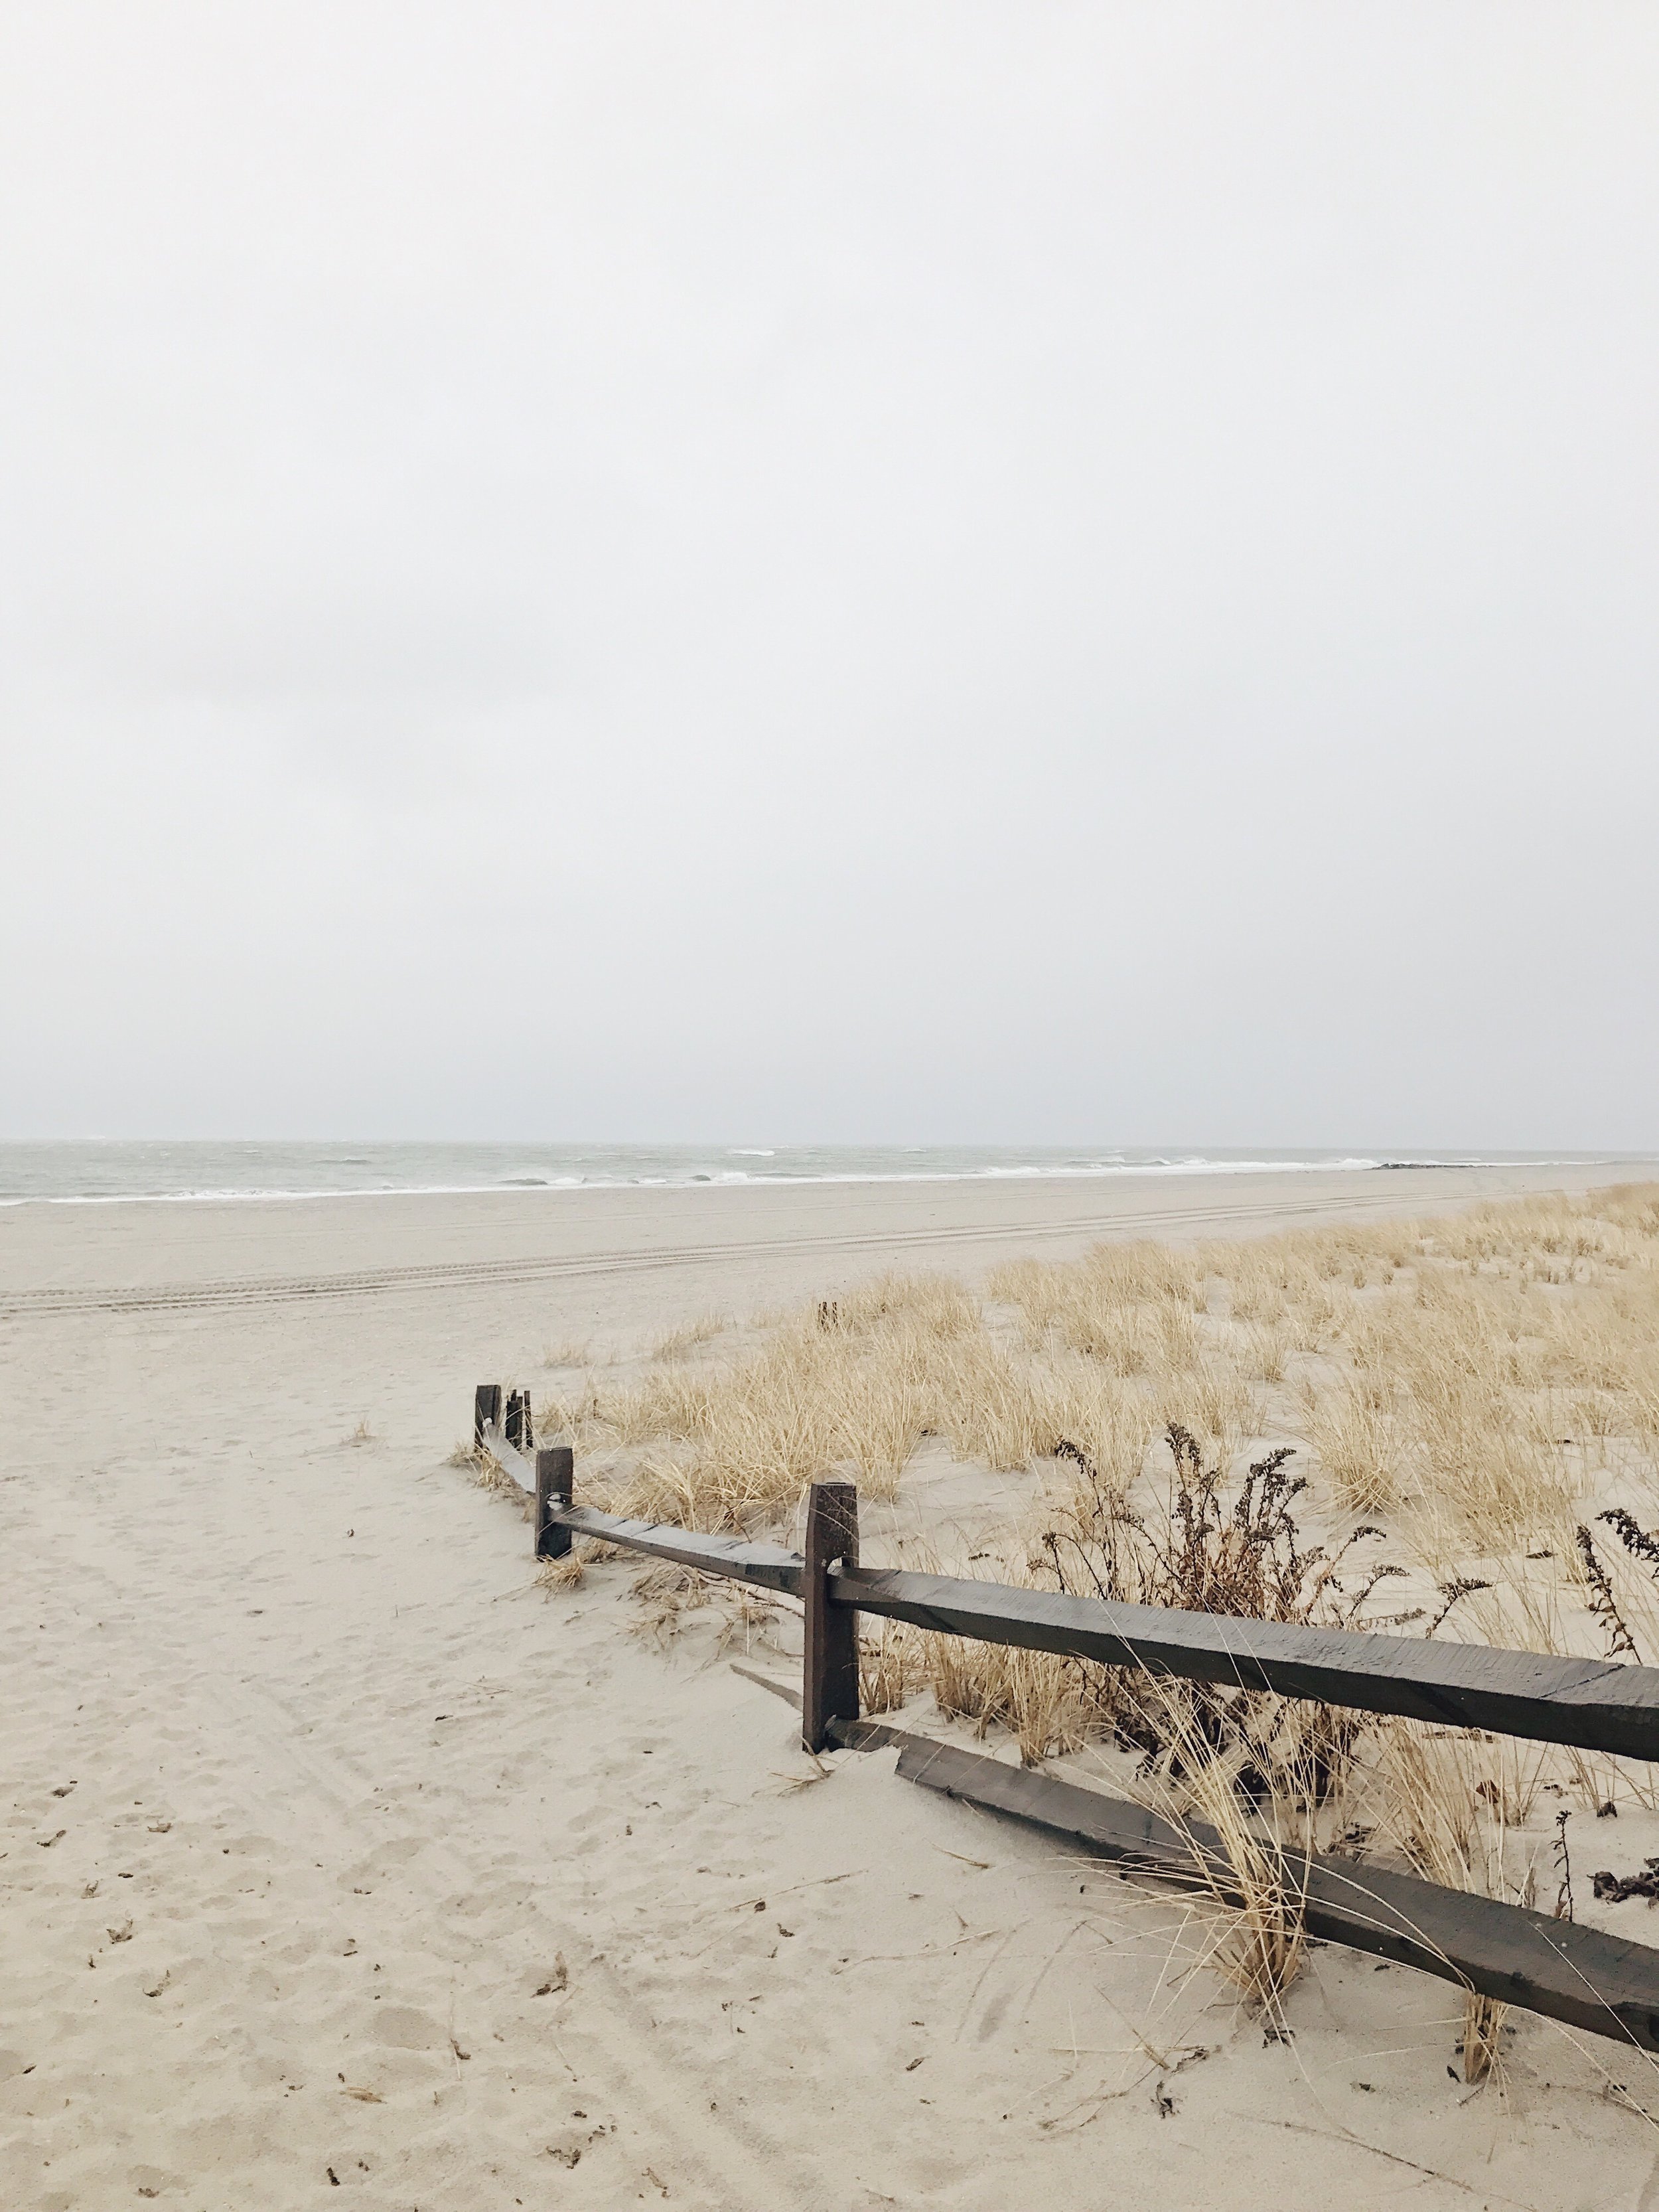
The following apps & accessories have SAVED MY LIFE and helped me create a cohesive feed that I really enjoy.Preview, VSCO, Snapseed,A Color Story, Afterlight, Joby Grip, Tripod with Bluetooth Remote, Facetune (I use this to patch out things I don't want to see, I do not use the face smoothing feature, because no thanks.)And that's it! Here are a few examples of photos before & after editing. These have all been shot on my iPhone 7+


 Thanks for reading, friends! If you want more posts like this delivered right to your inbox, subscribe here. And don't forget to find me on insta, because I spend most of my time there, tbh.Also, if there are any other questions about insta/social media that I can answer for you, feel free to leave a comment.xo,K.